See the details of the complete restoration on this page.
We did this 'Super 170' project with the mindset and
end goal of creating a plane that Clyde Cessna would build today if he
were still alive and leading the Cessna Aircraft Company. He would take a
strong and popular airframe and add features and components that were
not yet invented in 1955 to make a plane that was affordable and easy to
fly and maintain. It would carry a full family and/or loads in and out
of places a tri-gear plane can not.
-----------------------------------------------------
We located a low time, damage-free airframe built as a 170B model in 1955. The benefits of that year of production is:
1: It was the latest version of the 170 series with all the latest design and features (Wings, Flaps, Landing Gear).
2: It shared many parts and features of the C180 and the '170 Military Version "L19 BirdDog" aircraft.
3:
It was approved and continues to be approved and maintained under Civil
Air Regulations, Part 3 (CAR3) as opposed to the current rules of FAR
Part 23. This means the modifications we planned to make to the plane
could be done and approved with existing FAA approved data from Cessna
drawings and FAA Circular 43-13b.
4: We did
not know it then, but new MOSAIC rules about to be approved in FAA will
include this plane making continued service, upgrades and operation much
lower cost.
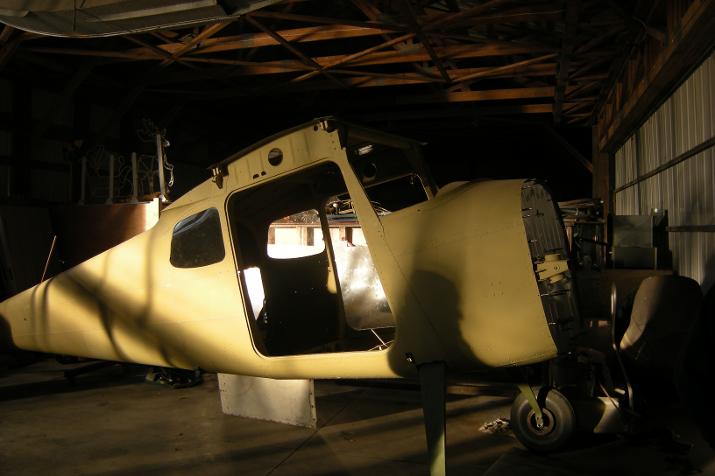
STARTING:
The project began by completely disassembling the
entire plane and removing all paint coatings down to bare metal. Once
each panel and surface was inspected, it was then protected for life
with a coating of good old fashioned Zinc Chromate.
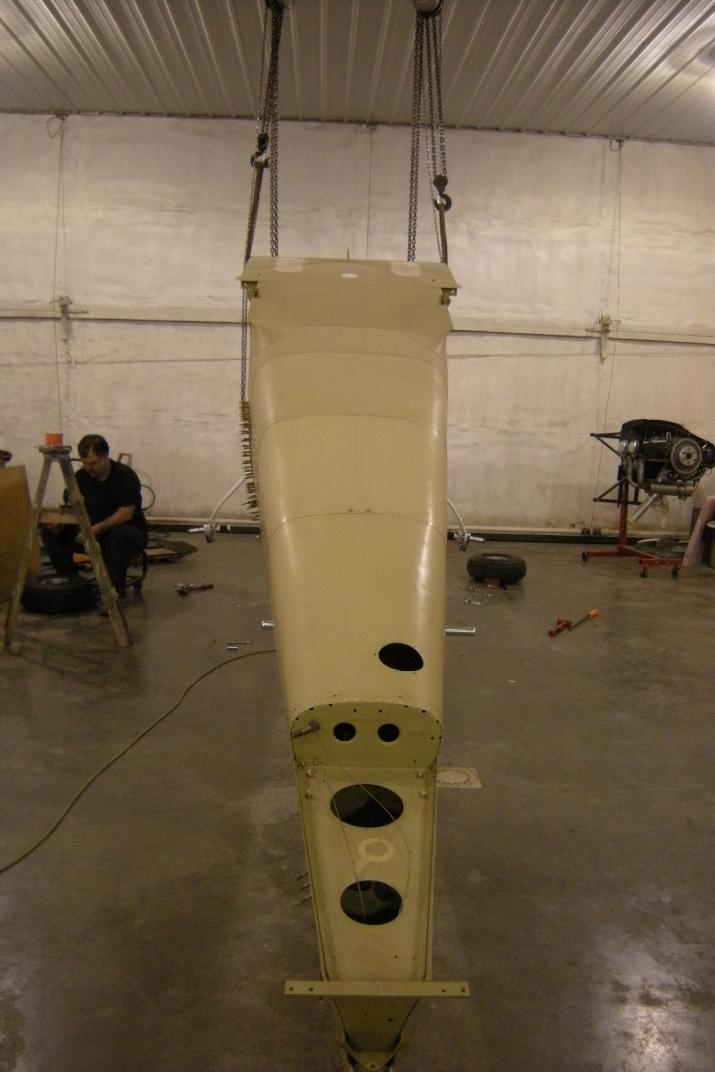
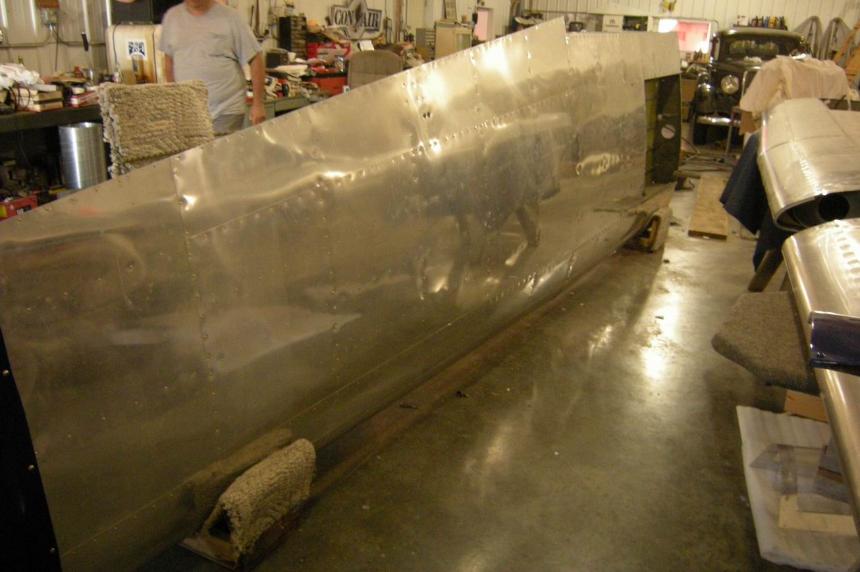
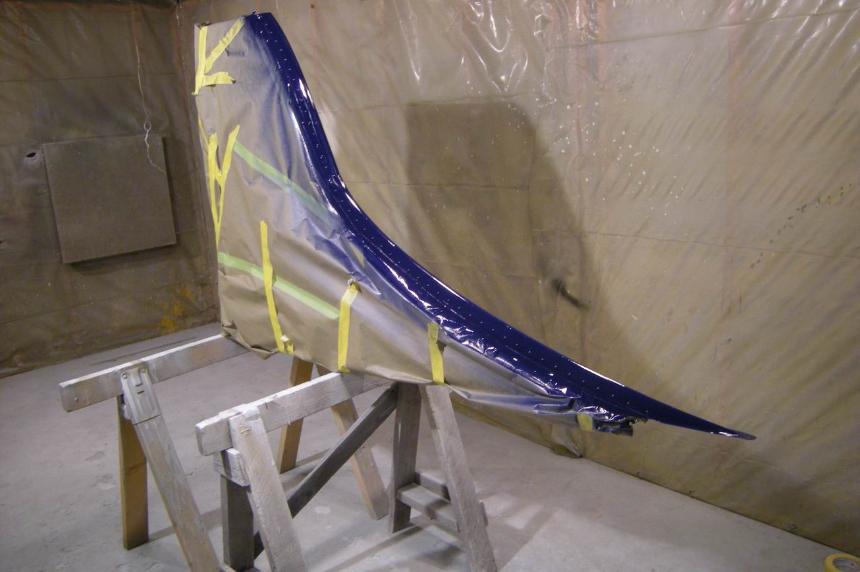
Even
the top skins of each wing and control surface were removed so the
interior spaces could be fully inspected and then treated with Zinc
Chromate. After that, new skins were installed.Engine:
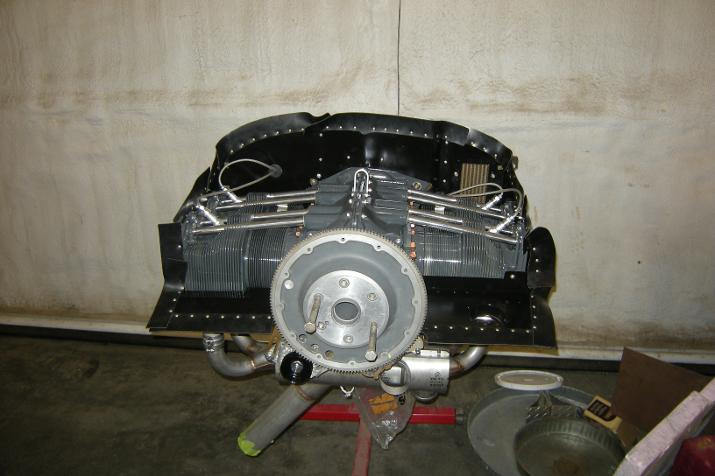
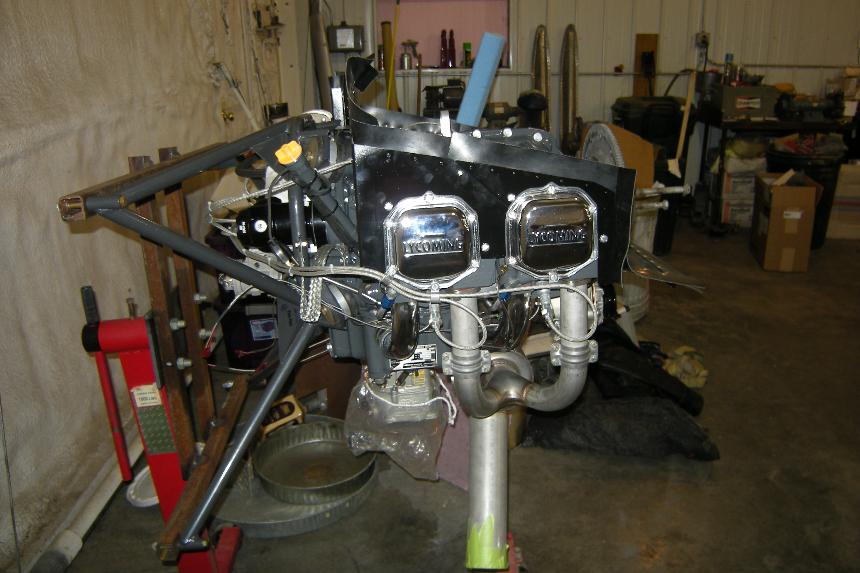
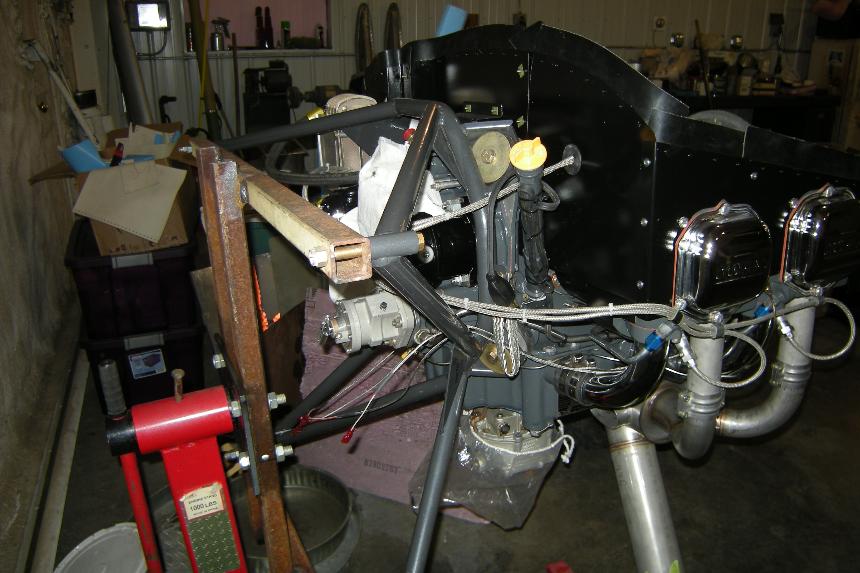
Next step was to select a new powerplant. We chose the
popular and strong 4-cylinder Lycoming -360 series engine. DelAir STC
approved the installation to this airframe. We found a O-360 version
with 64TTSN that had been sitting in storage for several years. It was
purchased and sent to LyCon for O/H and flow balancing. The crankshaft
was replaced with one that provides for hydraulic prop control and they
installed an accessory pad to the engine to allow a hydraulic governor
to be mounted. A spin-on oil filter adapter was added. Brand new
carburetor, magnetos, plugs, wires, airbox, and fuel lines were
installed. Parts of the engine were chrome plated before installation
to give it a bit of 'bling'. We installed a new B&C starter and
alternator, MT compact governor, Bogart battery cables, Steve's machined
aluminum gascolator. All temp and pressure sensors were installed with
new ones that provided two sources of measurement instrumentation. An
oil pad heater makes preheating in the winter easy. A new engine mount
with solid seaplane bushings at the firewall and new rubber mounts at
the engine makes a solid, vibration free installation. Later in use,
one of the mags was replace with a SureFly Electronic Ignition. The
remaining mag still has an impulse coupling, so starting is like a car
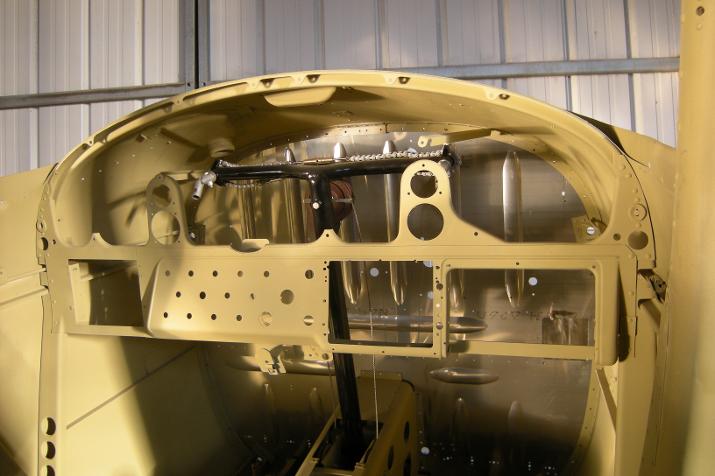
and retains the ability to hand prop. A new stainless steel firewall
was installed before the engine was mounted. The brakes and related
parts normally hidden tight to the firewall were replaced with new while
they were open and visible.
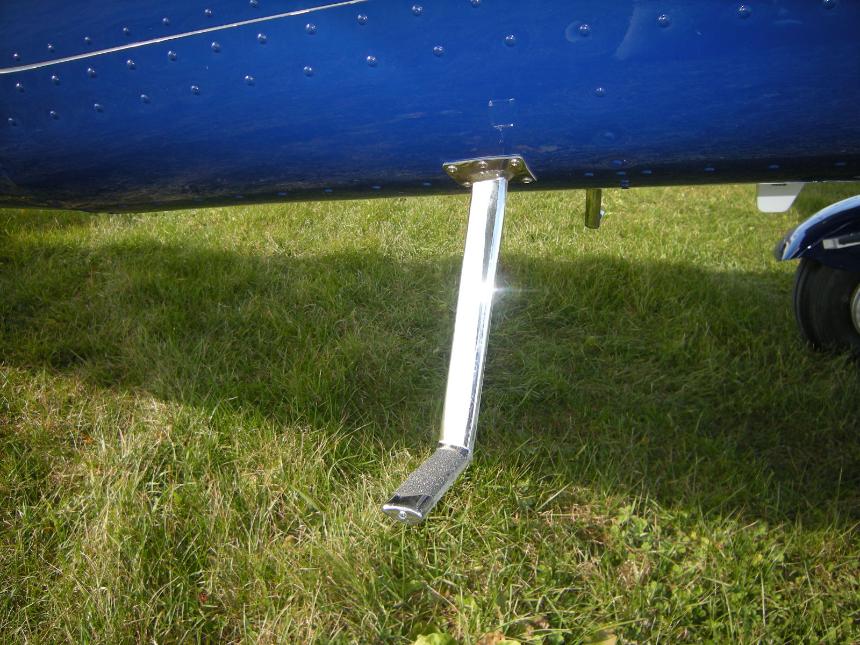
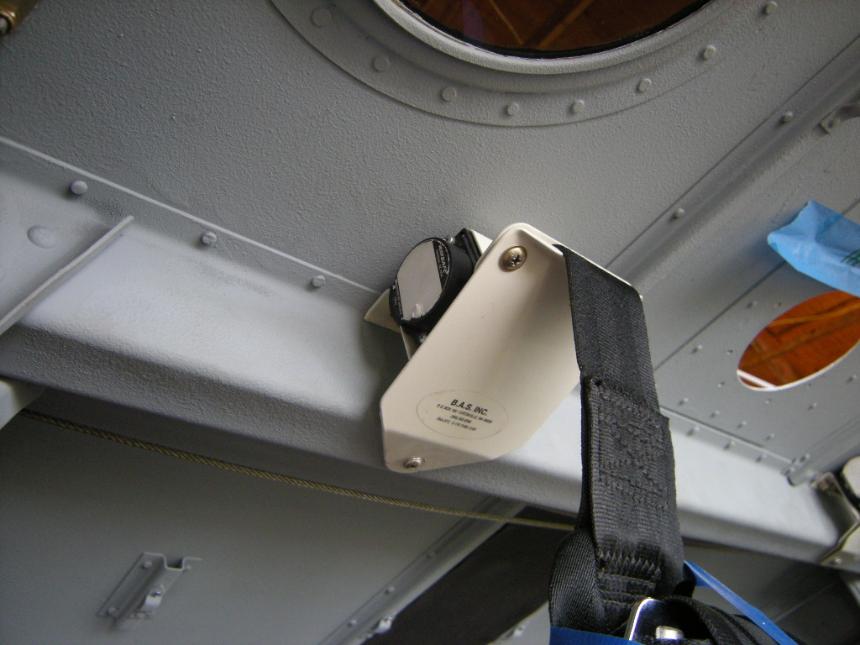
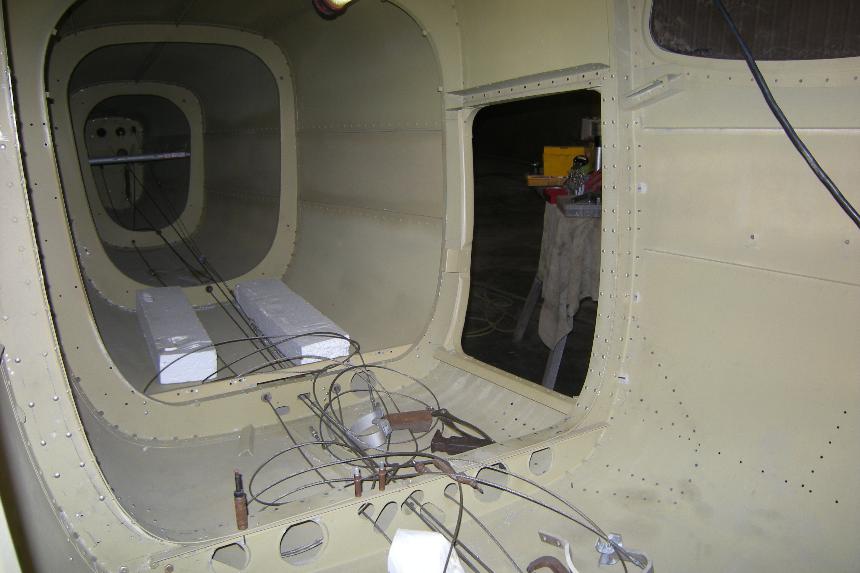
Continuing on the fuselage, we added BAS inertia shoulder
harnesses for improved safety. The tail wheel section was replaced
with one from a L19 Bird Dog as it is stronger and spreads the loads of
connection to a larger area. The interior surface was first painted
with zinc chromate, then a layer of grey Navy ship surface epoxy over
that to create a surface that is corrosion proof and durable.
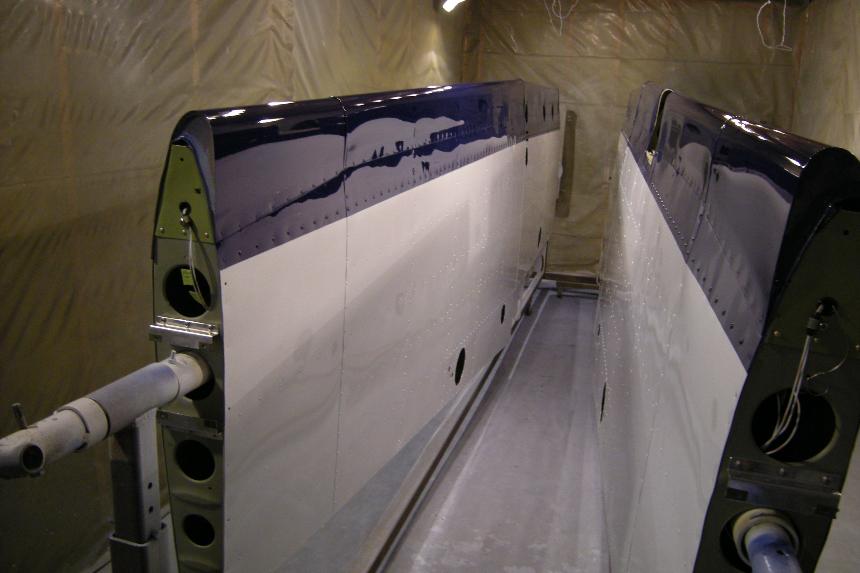
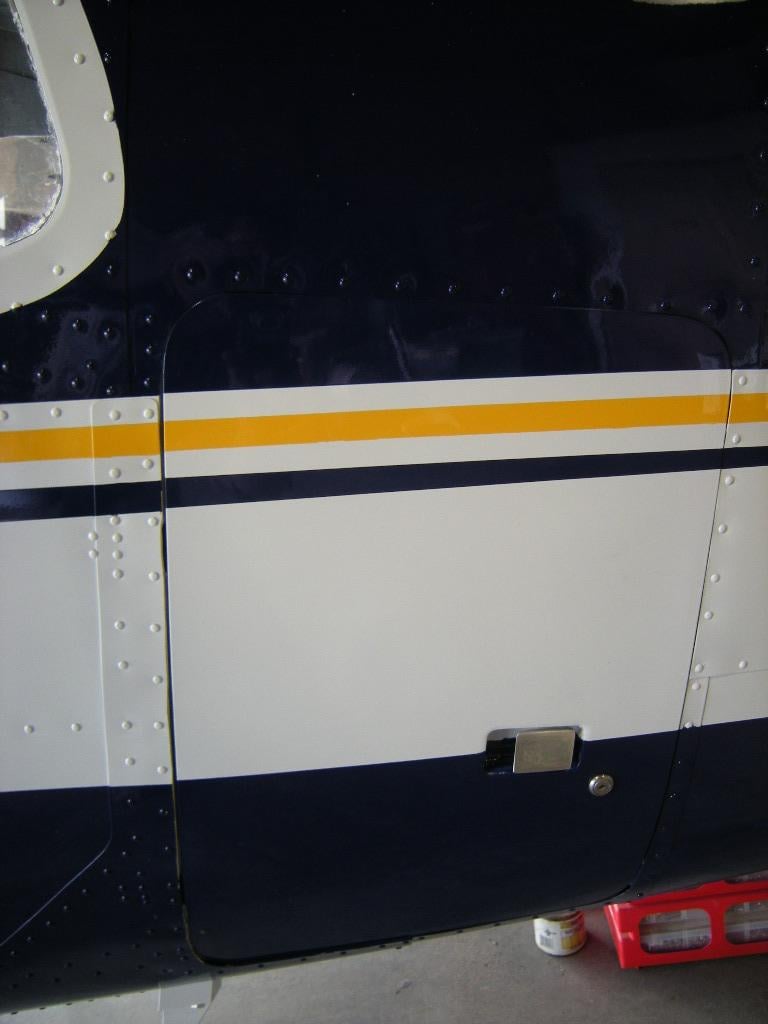
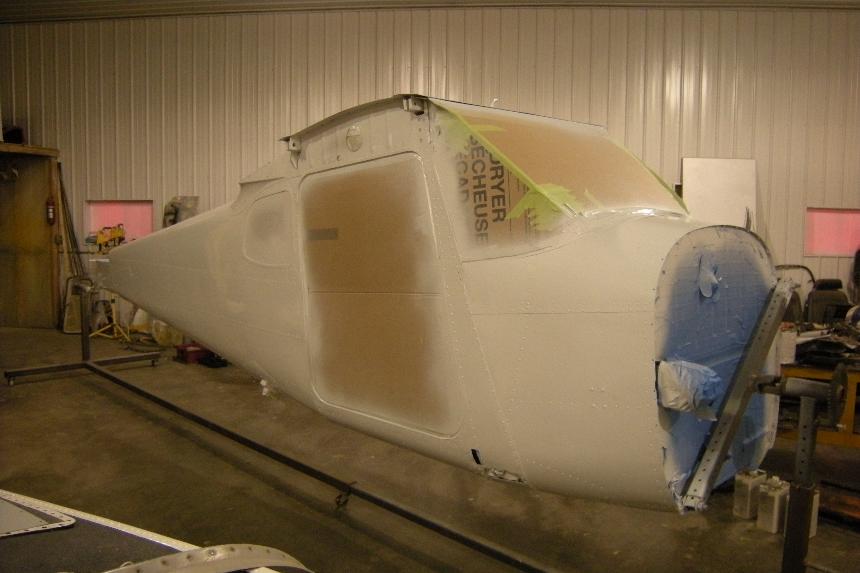
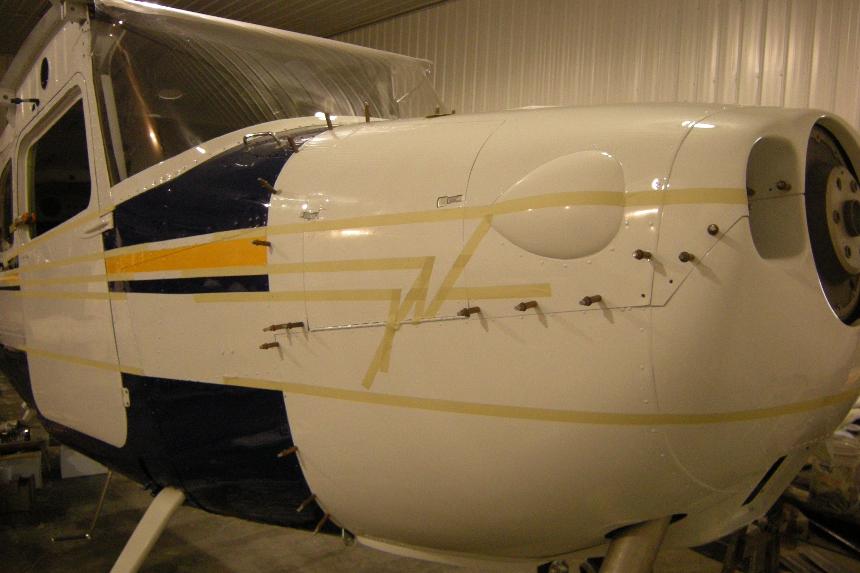
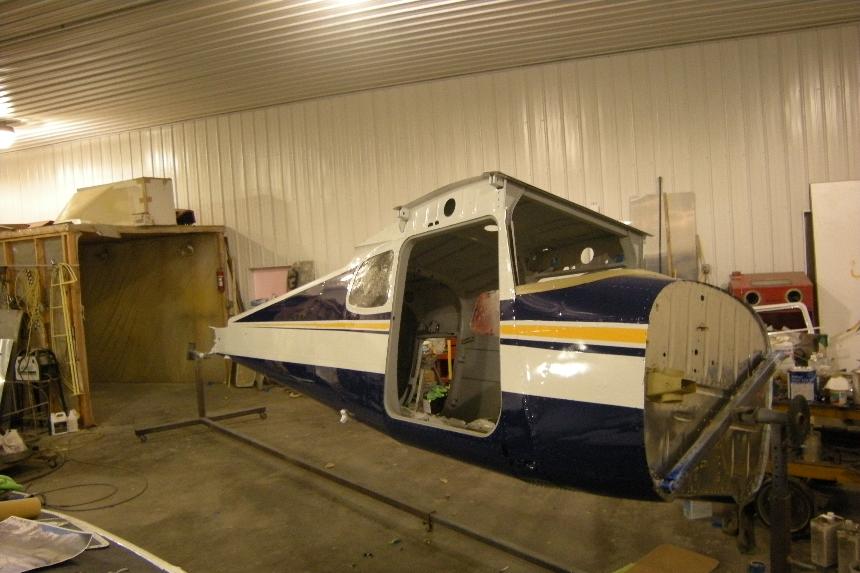
Exterior Finish:
Now the exterior Emron finish is applied to the fuselage and cowling.
Re-assembly Begins:
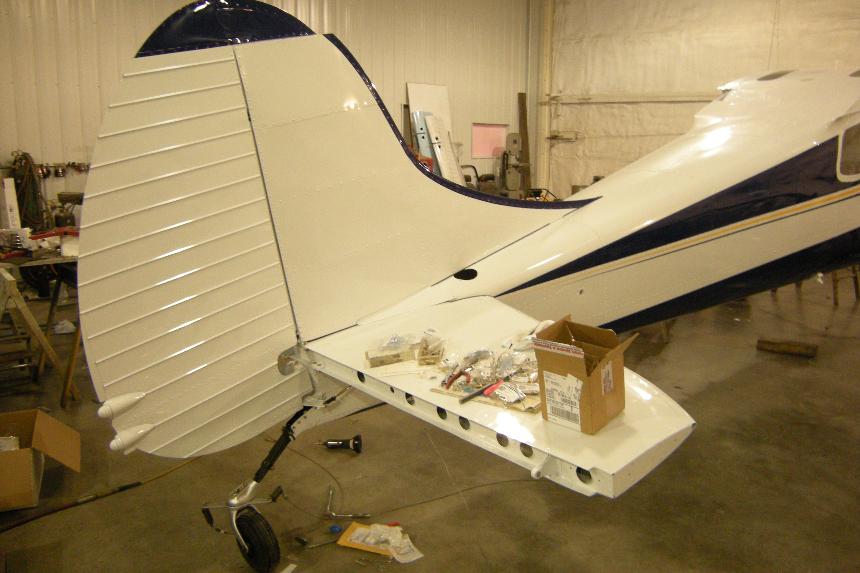
Now it is time to re-install the tail, rudder and horizontal stabilizer.
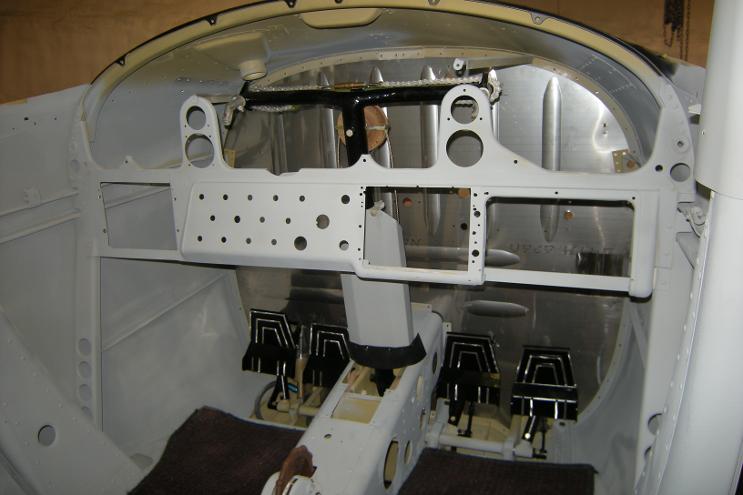
Avionics & Wiring:
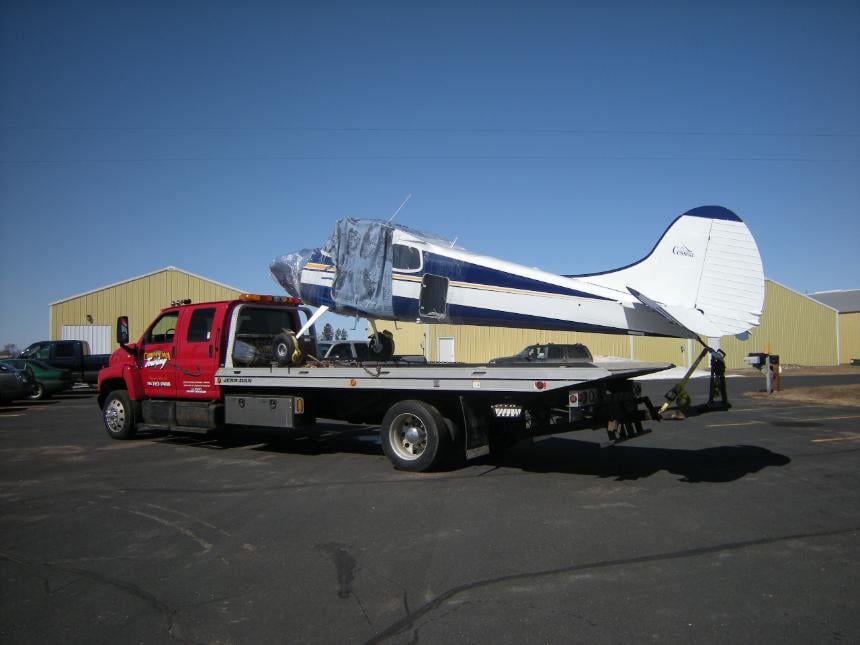
Now that painting is completed, we pack up the plane on
the back of a car hauler and relocate it to the avionics shop. There,
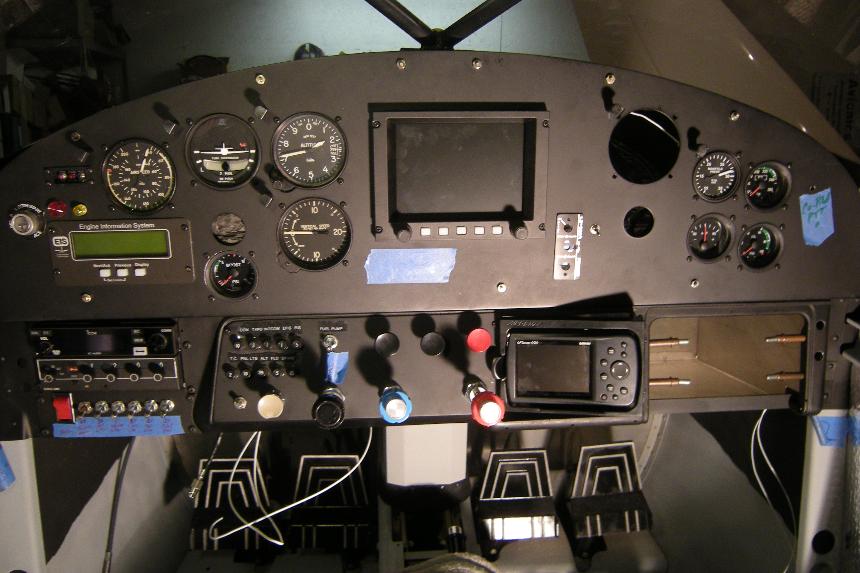
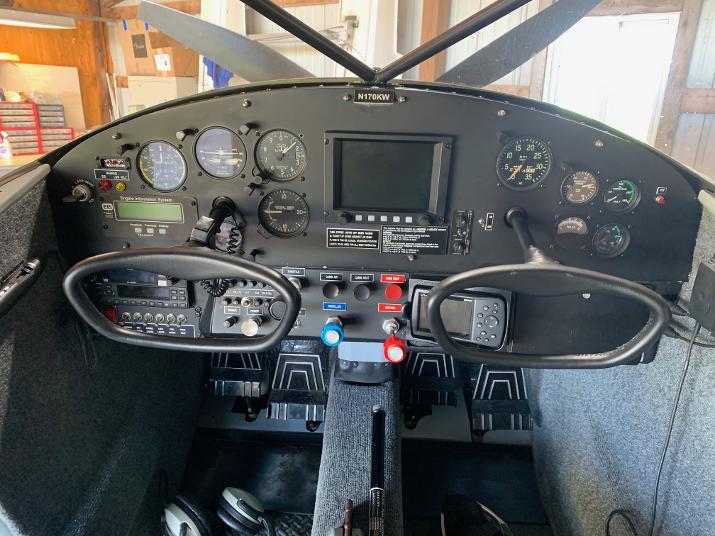
the engine controls, are installed, a new panel is designed , CNC cut
and installed. A compact firewall battery is installed. Wiring is
connected to all the sensors, antennas, radios, and lights using new
breakers. The panel layout was done to a more modern 'T' style standard
using direct reading instrument heads. The second set of sensors are
wired independently to the Grand Rapids Technology Engine Information
System and display EFIS. This allows for a glass panel and modern
features of navigation and engine monitoring. With the panel out, we
are able to install very nice firewall insulation that isolates heat and
vibration from the engine compartment. The boot cowl and footwells are
also insulated before interior trim is installed.
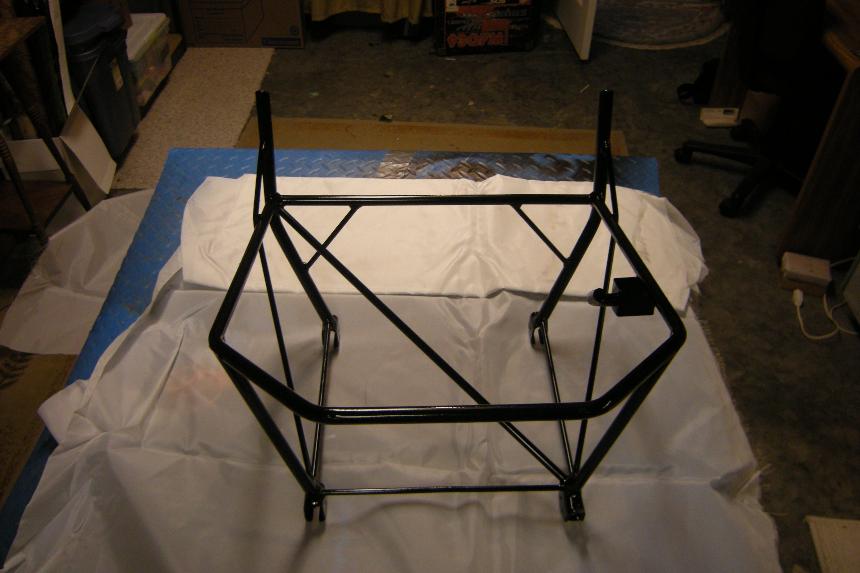
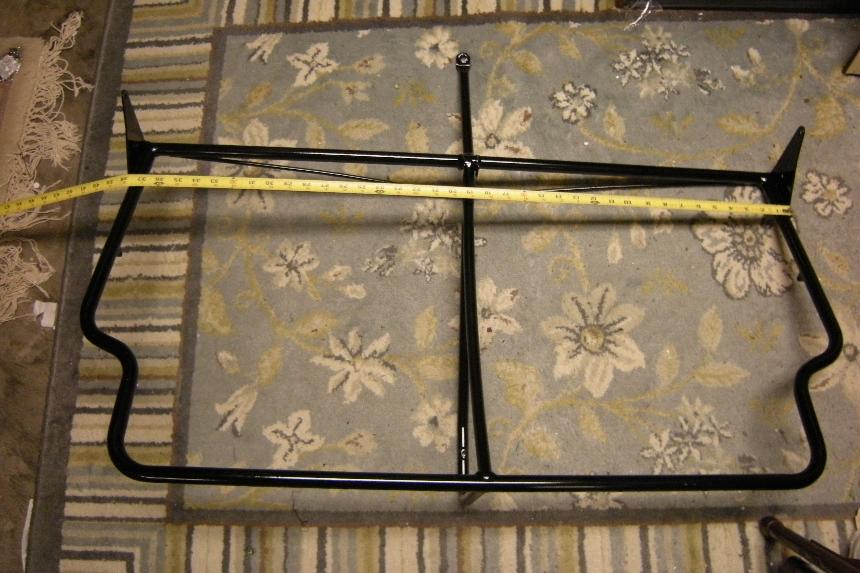
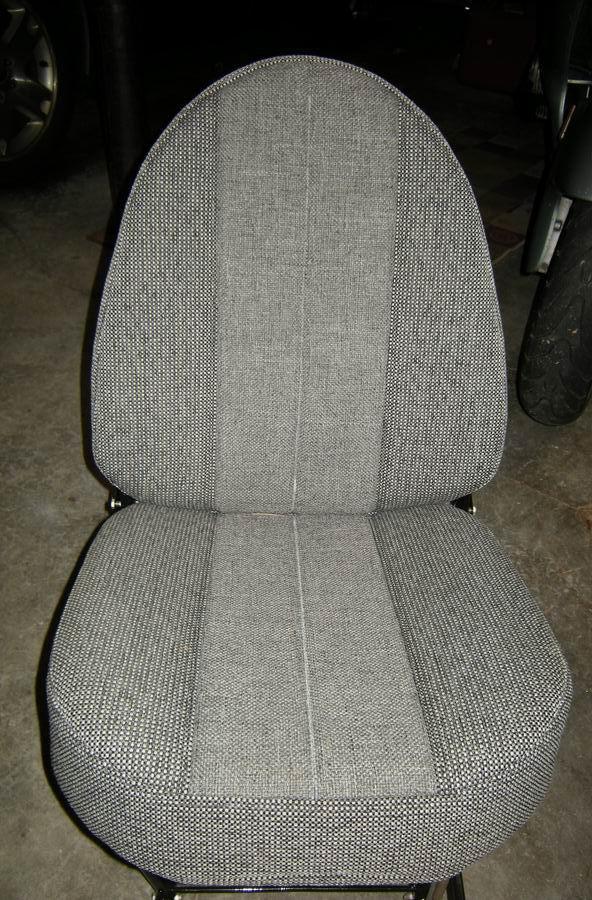
Seating:
While the avionics are being done, the interior seating
is sent to Alaska (Sport Aircraft Seating) for rebuild, powder coating
and custom designed padding and covering. This process eliminates many
pounds of steel springs in favor of much lighter and longer lasting
Ceconite over the frames.
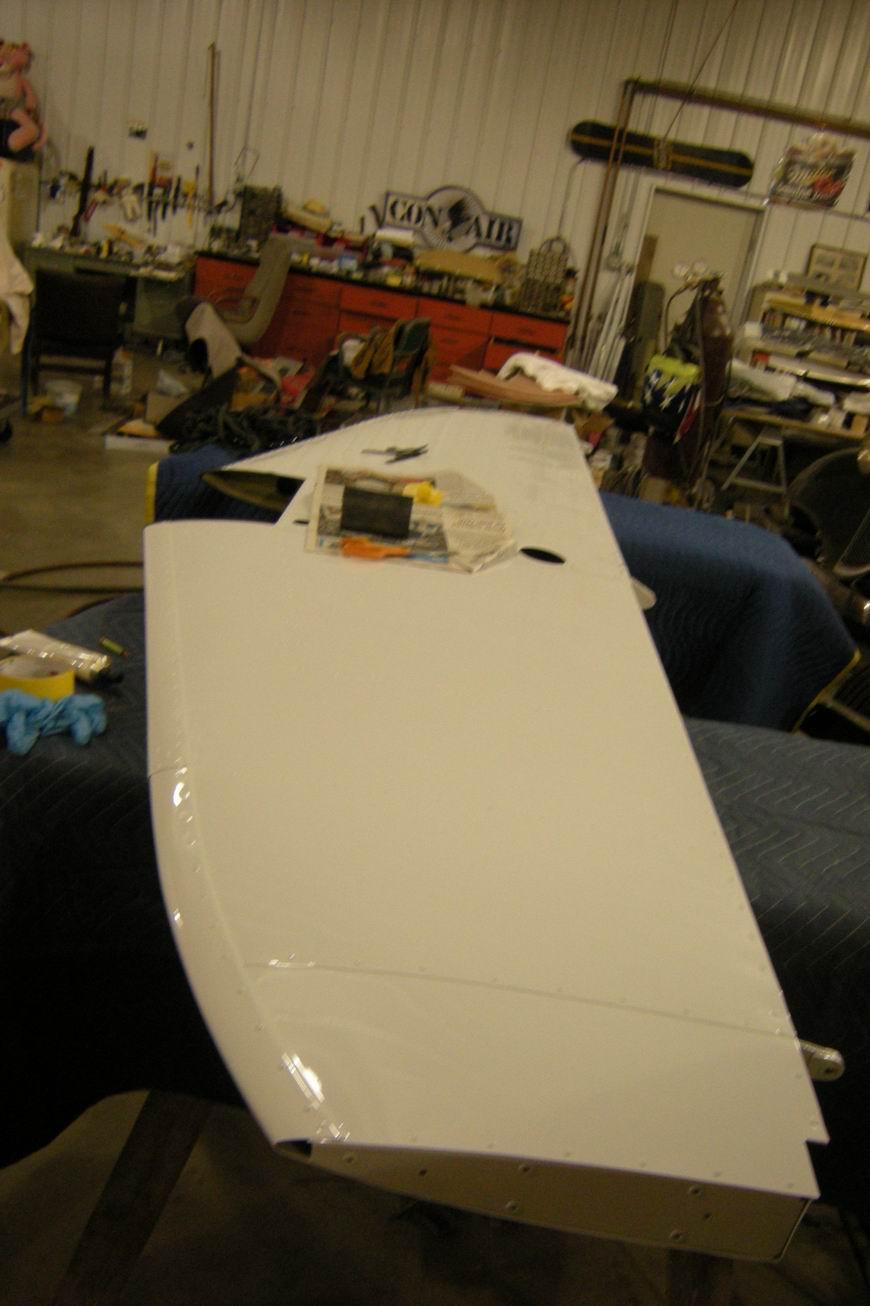
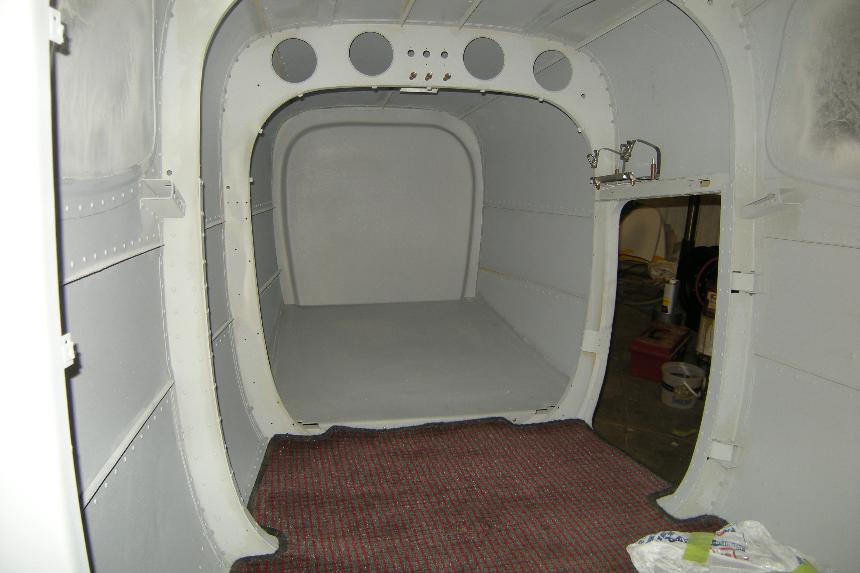
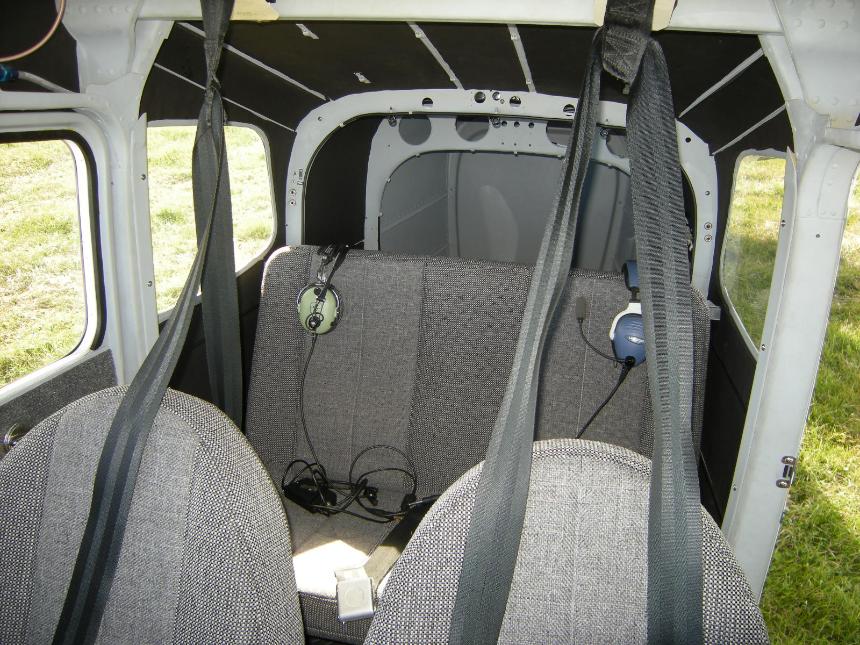
Re-assembly of wings, door and interior:
With avionics complete, we move the plane to our
re-assembly shop where the wings, flaps, control surfaces and fender
spats are installed. New heating and ventilation hoses are used forward
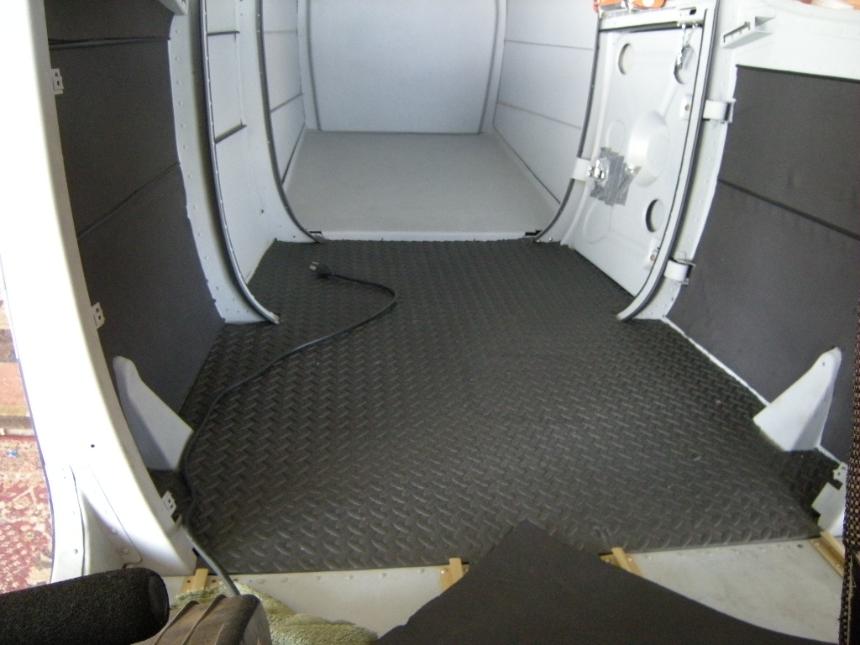
of the firewall. Inside, the entire interior surface all the way to
the baggage door is covered with 3/8" thick closed cell foam
insulation. This deadens sound and vibration and provides a lightweight
barrier to heat and cold without the weight of older fabrics. The
interior doors and sidewalls are finished with a light, attractive
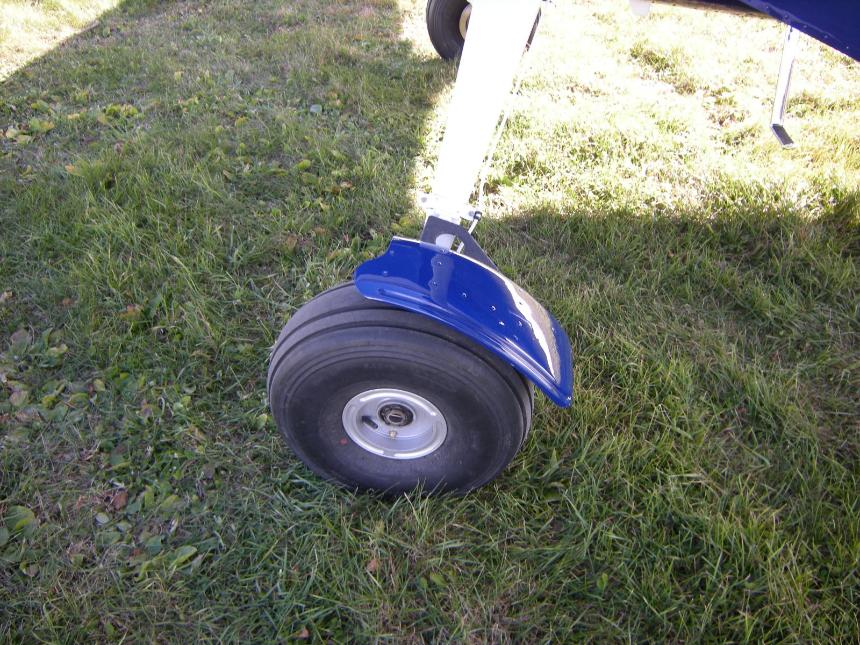
surface that is removable for servicing in the future. The wheel spats
provide protection of the wings and tail from mud and stones. Hydraulic
lines were installed to allow for easy use and changeover to/from skis.
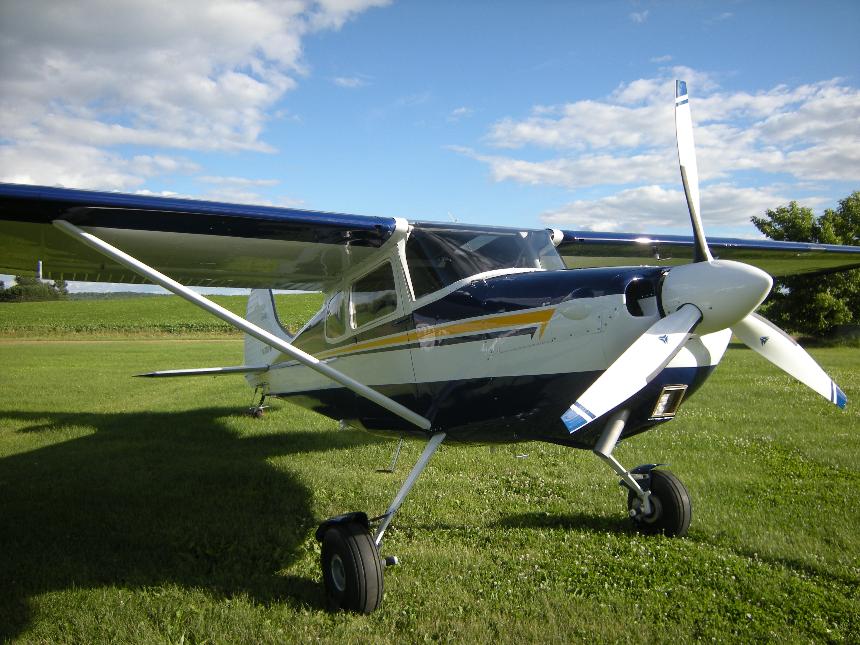
Propeller:
Now we selected the MT Composite prop because of the low
weight vs metal props and they are extremely smooth in operation and
allow for OWNER repairs to minor blade damage. I tried the Hartzell 2B
Composite Trailblazer, two MT 2-blade versions and this MT 3-blade
version before making my decision to stay with the MT 3-blade. It was
not as fast in cruise as the 2B versions, but it is soooo smooth and
looks sooooo good on the ground!